テーマ独自の入力項目を管理画面に設定する。
ページ単位の項目やブロックのオプション項目ではなく、テーマごとに1度しか設定しないような項目を管理画面で設定したい場合にTheme Optionsアドオンを使うと管理画面に独自の入力フィールドを構築できます。
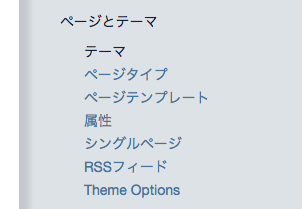
Theme Optionsアドオンをインストールすると管理画面>ページとテーマの一番下にTheme Optionというメニューが追加されます。
項目を設定するには
\packages\whale_options\options-sample.php
のファイルをオリジナルのテーマの中である
\application\themes\テーマ名\options.php
にコピーしてリネームします。

options.phpのコードのarrayの内容で入力項目が設定できます。
<?php
/**
* @author shahroq <shahroq \at\ yahoo.com>
* @copyright Copyright (c) 2017 shahroq
* http://concrete5.killerwhalesoft.com/addons/
* To start using this add-on you should have an "options.php" file inside this add-on root or in the active theme root. There is a sample "options-sample.php" file inside the package root, copy this file to your theme, rename it to "options.php" and start tweaking it. This is a 3-dimensional array that each dimension presens Tabs > Panels > Fields. It contains every possible fields & attributes, so compare this file with result at your concrete5 "theme options" page in the dashboard should give an overall understanding of the variable structure.
*/
defined('C5_EXECUTE') or die('Access denied.');
$options = array(
'tabs' => array(
//Tab A
array(
'id' => 'taba',
'title' => t('ヘッダー'),
'selected' => TRUE,
'panels' => array(
//Tab A > Panel 1
array(
'id' => 'panela1',
'title' => t('タイトル'),
'fields' => array(
array(
'id' => 'text_1',
'type' => 'text',
'title' => t('タイトル'),
'required' => TRUE
),
array(
'id' => 'image_1',
'type' => 'image',
'title' => t('ロゴ画像'),
'description' => t('ヘッダーに使用するロゴ画像'),
'value' => 0,
),
array(
'id' => 'page_1',
'type' => 'page',
'title' => t('リンク'),
'description' => t('ロゴ画像をクリックして遷移するページ'),
'value' => 0,
),
),
),
//Tab A: Panel 2
array(
'id' => 'panela2',
'title' => t('ヘッダー'),
'closed' => FALSE,
'fields' => array(
array(
'id' => 'text_2',
'type' => 'text',
'title' => t('ヘッダー画像altテキスト'),
'style' => '',
'class' => '',
'container_class' => '',
'required' => FALSE,
'value' => '',
),
array(
'id' => 'image_2',
'type' => 'image',
'title' => t('ヘッダー画像'),
'description' => t('ヘッダーの背景画像'),
'value' => 0,
),
),
),
),
),
//Tab B
array(
'id' => 'tabb',
'title' => t('フッダー'),
'panels' => array(
//Tab B > Panel 1
array(
'id' => 'panelb1',
'title' => t('フッダー内容'),
'closed' => FALSE,
'fields' => array(
array(
'id' => 'text_3',
'type' => 'text',
'title' => t('コピーライト'),
'description' => t('Text Description'),
'style' => '',
'class' => '',
'container_class' => '',
'required' => FALSE,
'value' => '',
),
),
),
),
),
),
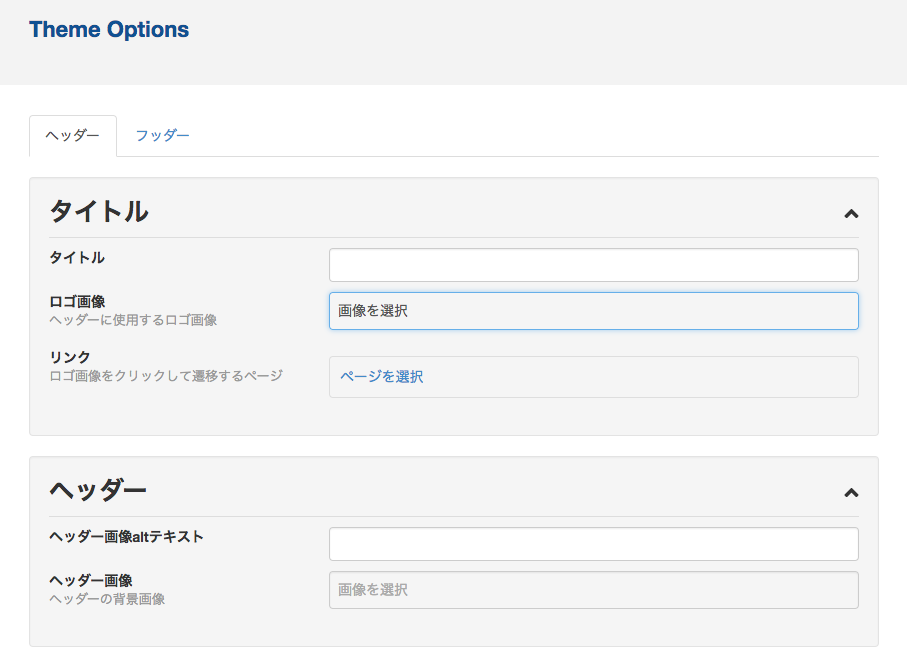
);例としてこのようなarrayでタブが2つの入力項目の設定が管理画面に設定できます。
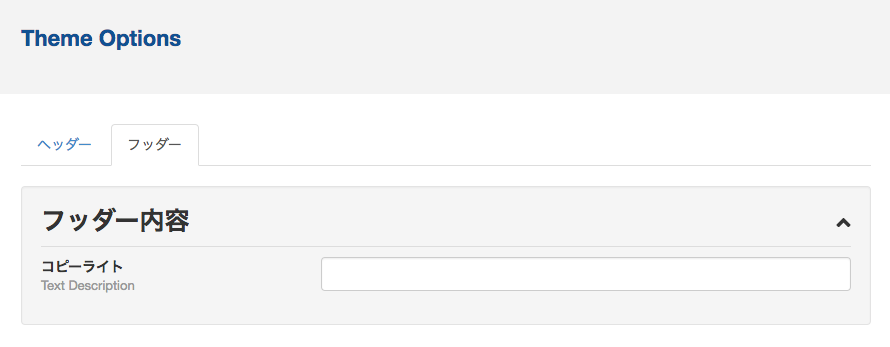
設定した値を取り出す例としてフッダーに値を設定してみます。
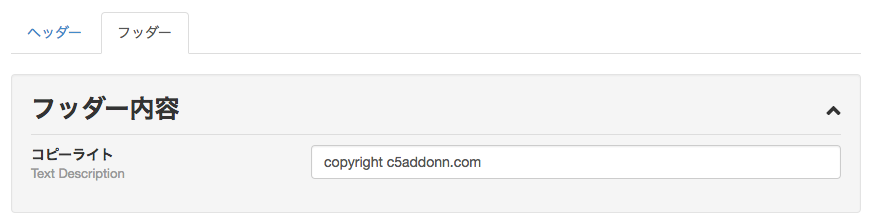
コピーライトに入力項目を設定してみます。
options.phpでは
array(
'id' => 'text_3',
'type' => 'text',
'title' => t('コピーライト'),
...
で設定されていますので、PHPのソースでは
$footer_copy = \Core::make('config/database')->get('options.text_3');
で値を取り出します。
空かどうかをチェックして
if(!$footer_copy){
echo $footer_copy;
}
で値を出力します。
各項目を設定すると管理画面のTheme Optionsでサイトで1度しか設定しないような項目を入力項目で設定出来ます。